
Step 3: Configuring a BDE Alias for MySQL
 |
|
- In the previous step, we got to the point of testing and successfully connecting to our installed database via ODBC. (Note: 06 Aug 2012 - the ODBC Test button does not currently work, according to the MySQL website.)
- Close dBASE and any dBASE applications that you have running. Open the BDE Administrator. You can find it on your Start/Program Files/dBASE Plus menu or in the Control Panel:
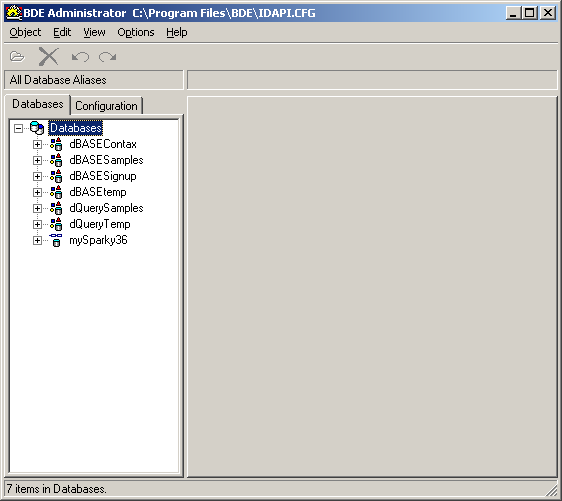
Scroll through your list of databases and you should see the ODBC connection name that you created on the previous page. In my case, I created an ODBC connection called mySparky36. ...and there it is! The BDE has automatically created an alias for it already. WE ARE NOT GOING TO USE THAT ONE.
Why not? I recall reading on a dBASE newsgroup that using a BDE Alias with the same name as the ODBC name will cause problems. I don't recall why. We are going to create a new BDE alias and it will refer to the automatically-created one. If you think that this workaround is stale information, please let me know! - On the BDE Administrator menu, choose Object, New...
- The 'New Database Alias' dialog box appears. Open the dropdown list and choose the mySQL ODBC 3.51 Driver:
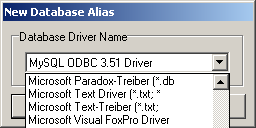
Press the 'Okay' button. - The BDE database configuration window opens with some default settings:
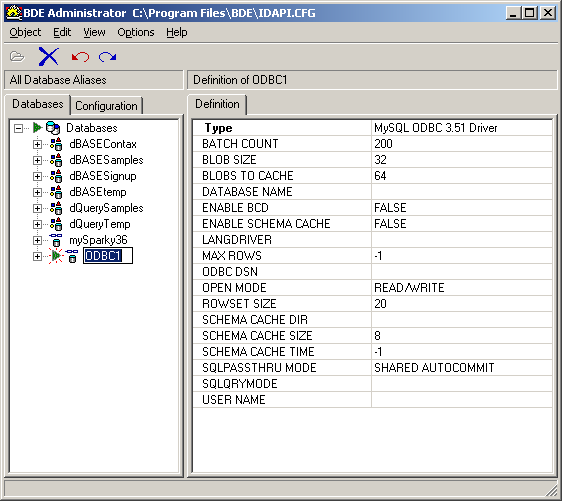
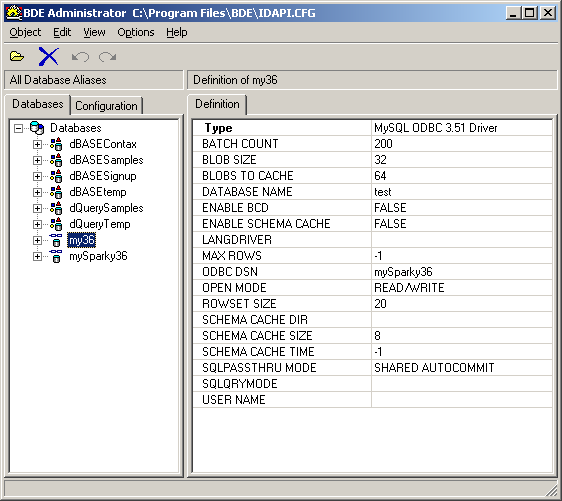
- Notice that the connection has been given a default name of 'ODBC1' by the BDE - the name field in the left column has focus so we can enter a meaningful BDE Alias right now.
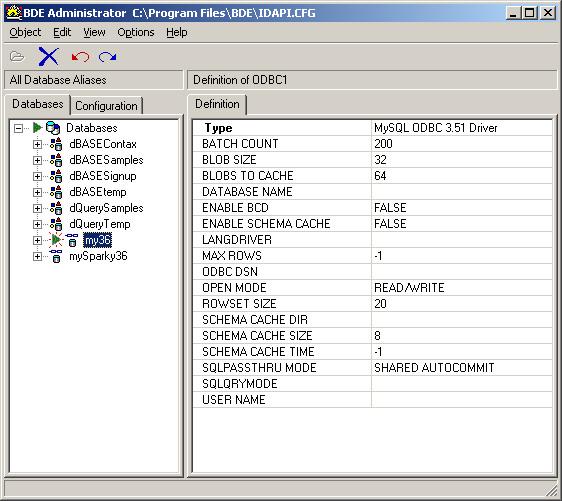
I'm going to call it 'my36' so I will type that in. Press Enter to save the BDE Alias name. You can also see the mySparky36 alias that was automatically created by the BDE - we're not going to use it though, as mentioned above. - On the main settings window (under the 'Definition' tab), we are going to enter the Database Name and the ODBC DSN. The ODBC DSN is whatever you named it on the previous page. In my case, it is 'mySparky36'. We have not yet created a real database on the MySQL server but we know that there is one called 'test' - we discovered it when we created the ODBC connection. The completed screen looks like this:
On the menu, select Object, Apply to save your new BDE Alias. Close the BDE Administrator. - You are now prepared to connect to your mySQL database using dBASE Plus.
Prev: Step 2: Installing the MySQL Connector/ODBC 3.51
Next: Step 4: Getting to the MySQL data in dBASE
The MySQL Logo is a registered trademark of MySQL AB in the United States, the European Union and other countries.
Problems? Comments? Please contact us.
![]() © dBASEHost.com
Home
About
© dBASEHost.com
Home
About