Step 2: Installing the MySQL Connector/ODBC 3.51
This is Step 2 of an installation and configuration of the MySQL 5.5 database server on a Windows XP Professional machine, then accessing it from dBASE Plus via the BDE and ODBC. In Step 1, we installed the MySQL 5.5 Database Server. Click here to go to the Overview page.
- I'm using Windows XP Professional 32-bit, dBASE Plus 2.61.5 and Mozilla Firefox 14.0.1 web browser. Some steps and/or screen messages may vary slightly if you are using different products.
We will now start Step 2 of the tutorial:
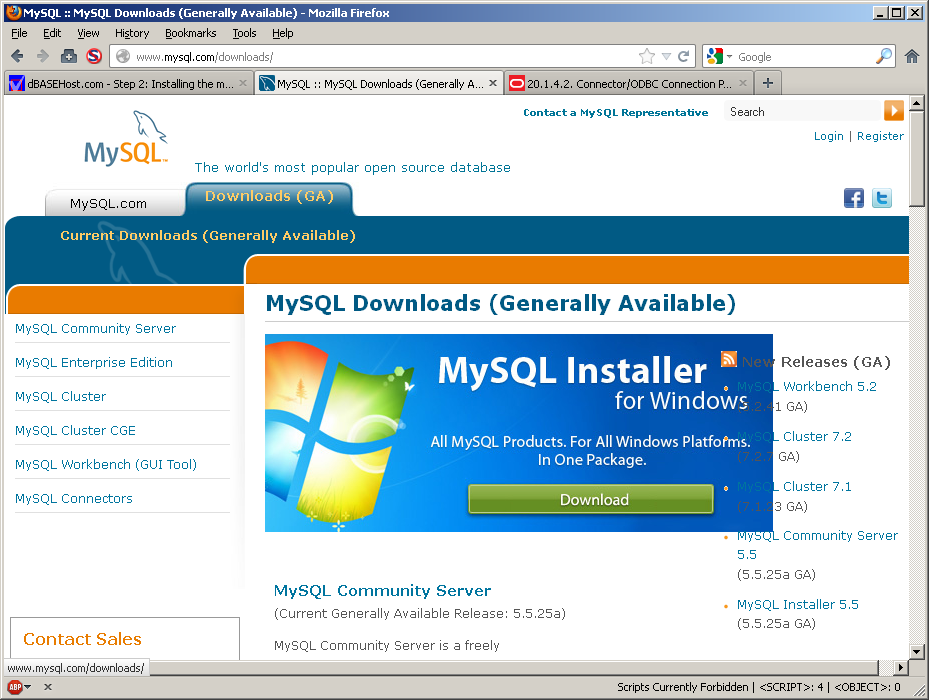
- Click on the mySQL logo above, which will open a new browser window and take you to their homepage. There are 2 tabs at the top of the page; click on the 'Downloads (GA)' tab. We've seen this page in Step 1 but unfortunately, we can't use the ODBC connector that is bundled in the all-in-one installer:
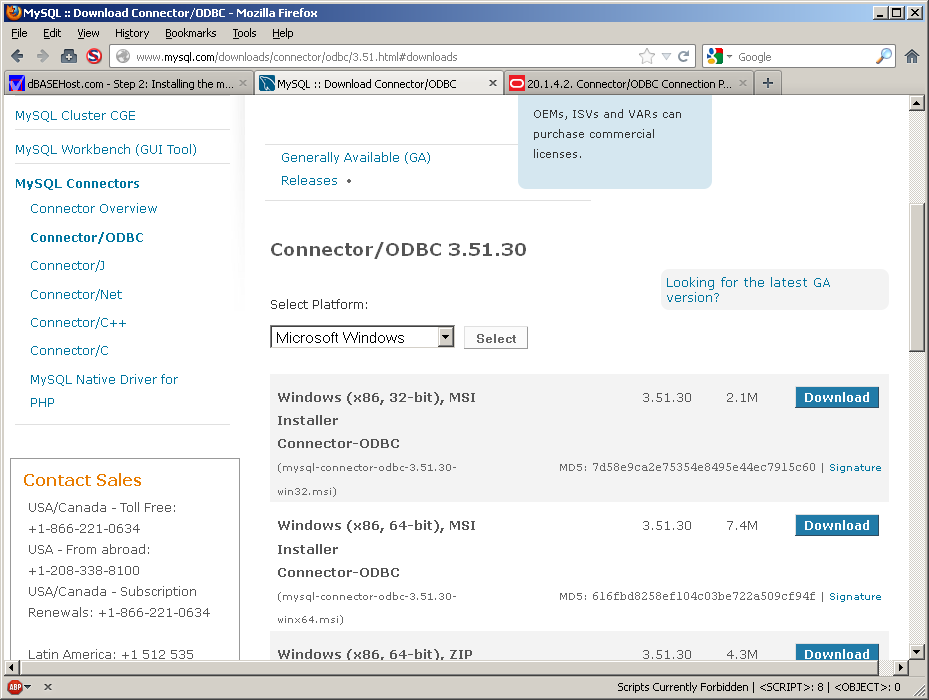
- Scroll down the page until you find the heading 'Connector/ODBC'. Do NOT click on 'Download'; click on the 'Connector/ODBC' link and you will see the page below.
We are NOT going to use the current version as there are too many stability problems reported when using it with the BDE. We are going to use version 3.51 which is still available and supported. Click on 'Looking for previous GA versions?' as shown in the lower right of this screen:
- On this page, choose your platform and click the appropriate 'Download' button:
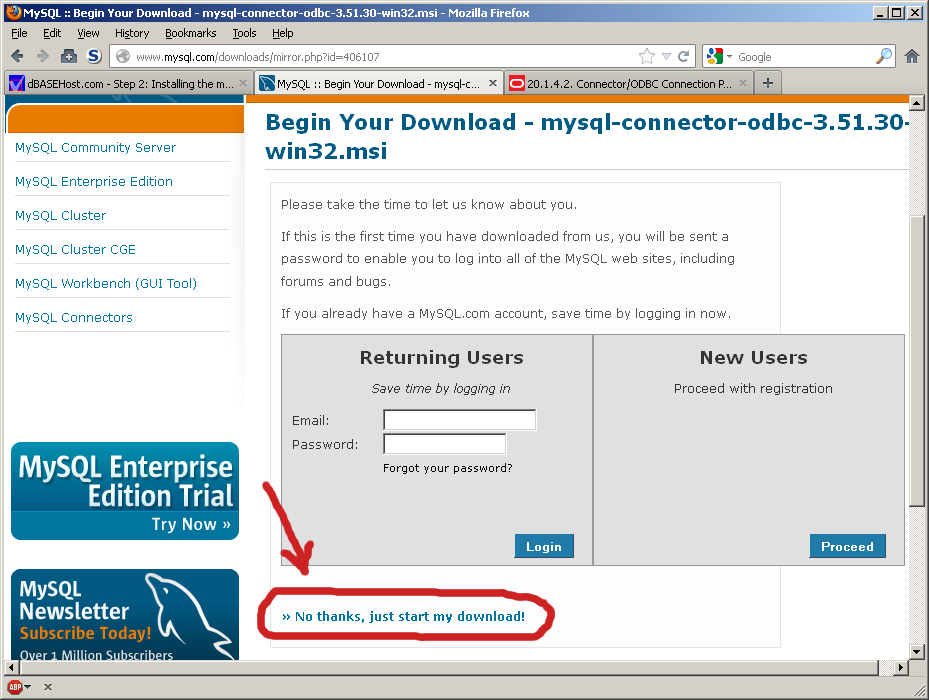
- Once again, we are presented with the opportunity to register with MySQL.com. If you have done that previously, you can log in here. If not, you can register or do what I do, which is click on 'No thanks, just start my download!' at the bottom:
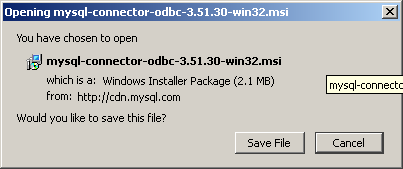
- We see the familiar confirmation dialog box. Confirm the information and click 'Save File':
- The Downloads window opens and a progress bar tracks the downloading. Double-click on the file name when it has completed:
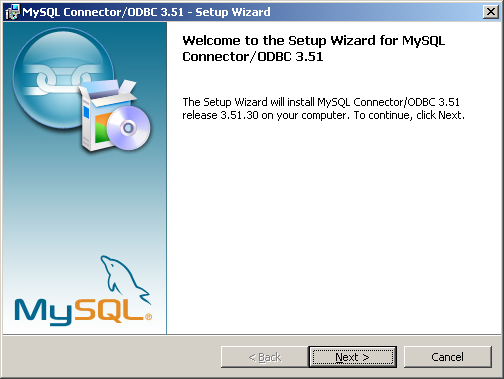
- You will then see the 2 security warning screens; click your agreement to run the installer and you will then start the Connector/ODBC 3.51 - Setup Wizard. Click Next to continue:
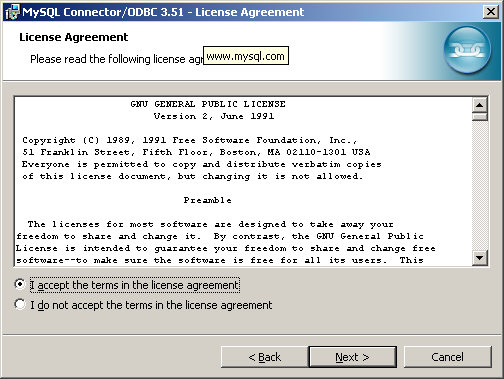
- Once again, we must agree to the license terms before installing. Again, it's the GNU GPL version 2. Click on the 'I Accept' button and then 'Next':
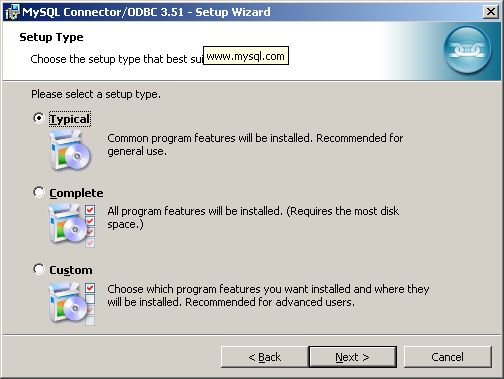
- This is going to be a Typical install so click the first radio button, then click the 'Next' button:
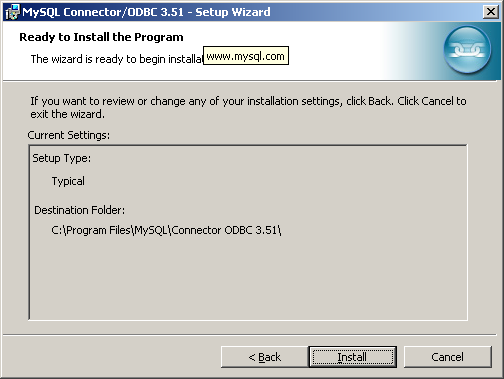
- The Wizard displays our choices on this summary page and gives us the opportunity to see what we're about to do and/or go back and make changes. When you are ready to commit, click on the 'Install' button:
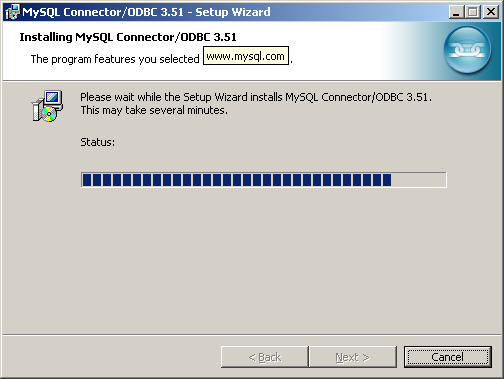
- A progress bar tracks the installation:
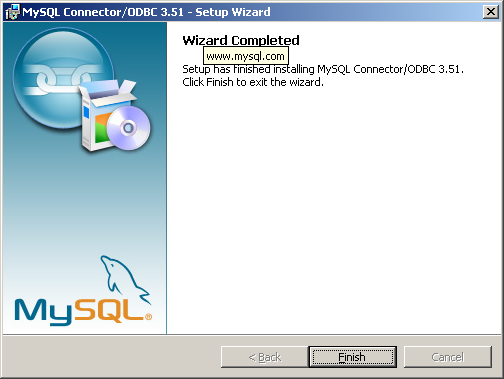
- ... and when it's all over, we are notified of that. Click 'Finish' to exit the installer:
- Click 'Finish' to complete the MySQL Connector/ODBC installation BUT WE AIN'T DONE YET.
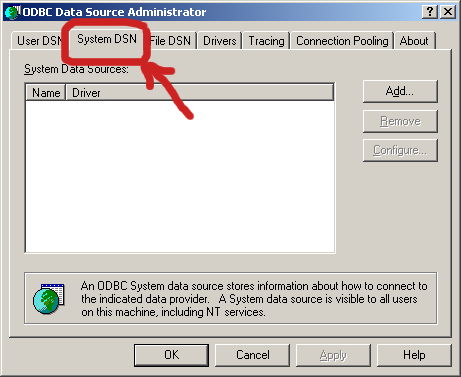
- Open the Control Panel, open Administrative Tools and then open 'Data Sources (ODBC)'.
- Click on the 'System DSN' tab:
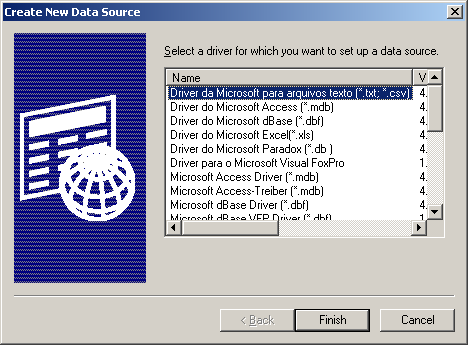
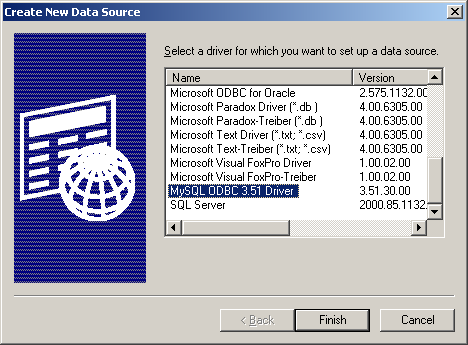
- Click the 'Add...' button to create a new ODBC data source. This screen allows us to choose which driver we want to use for our new connection.
- The drivers are arranged alphabetically so you may have to scroll down to get to MySQL. Click to select the 'MySQL ODBC 3.51 Driver' and then click 'Finish'.
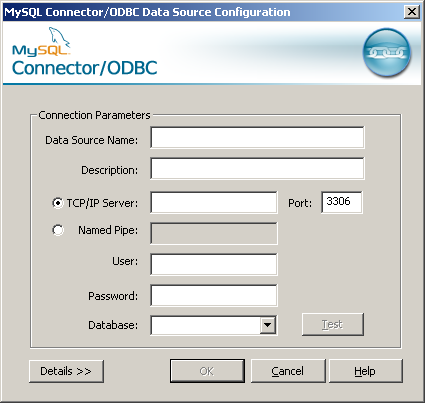
- And here's the part we've all been waiting for - the MySQL ODBC Connection details window:
NOTE: 10 Sep 2012 - there are some bugs in the current version of the Connector/ODBC 3.51.30 application. (This has nothing to do with dBASE or the BDE; we will have to wait for the next version from MySQL and hope that these issues are corrected.)
In the meantime, you will still need to complete the fields as described below, and you must press the Okay button to create ODBC connection. However, the Database dropdown and the 'Test' button do not work. (The expected functionality is explained below.) Because of these things not working, it is difficult to determine if your ODBC connection to MySQL is functional. There are workarounds, but I have not had time to write anything up. In quick, general terms, you can:
- connect with the MySQL command line client (DOS-like).
- install MySQL Workbench and attempt to connect with that.
- install something like phpMyAdmin and attempt to connect with that.
- assume that you have a working connection and continue with the tutorial. (In Step 4, you will connect to MySQL with dBASE. Assuming that everything else is working correctly, you would know at that point if your connection is working. If it does not work at that point, you would have one more thing to troubleshoot.)
Specific instructions:
Test button: not functional
Database dropdown: the dropdown will not populate; you must type a database name into the field. For new MySQL installations, type in 'test' (without the quotes). For existing installations, type in the database name if you know it, or try the test database.
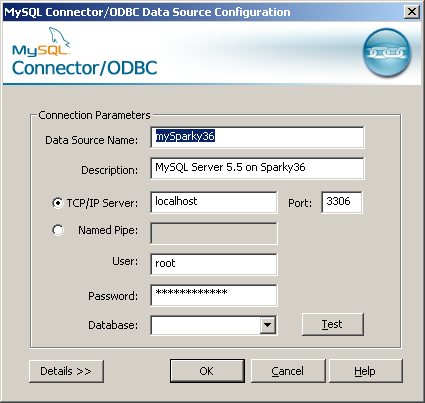
We will now fill in each field so that we can connect to the database server that we installed in Step 1.
Data Source Name: Create a meaningful name for this ODBC connection. You will need to know it later when setting up the BDE. I am naming this one mySparky36.
Description:This is optional but a good idea for future reference. I have entered a note to explain what the name means.
Server:We are connecting to the server on this machine, so type in 'localhost' (without the quotes).
User:For the sake of expediency, we are going to connect with the user named 'root' so type that in. Security note: The root account is all-powerful and can do serious damage. In any sort of real-world application, create restricted users and create connections with them to minimize potential damage. We just want to get a connection up and running, so leave that for later.
Password:Type in the root password that you created when setting up the database (in the previous step). You did write it down somewhere safe, didn't you?
Database:This combobox doesn't work like it used to - in previous versions, it would be populated with the names of available databases on the server entered in the Server field. It does not seem to do that any more so we have to go from memory. By default, there are 2 databases created on a new server - mysql and test. Type test in the field.- Your completed window will look something like this:
Click on the 'Test' button - maybe it will work for you.- We will plunge on nonetheless. Click on the OK button when you have entered all of the data.
Congratulations, you now have an ODBC-capable mySQL database server installed and ready to go!- Click on the 'Ok' button to close to close the ODBC Manager.
Prev: Step 1: Installing the MySQL 5.5 Database Server
Next: Step 3: Configuring a BDE Alias for MySQLThe MySQL Logo is a registered trademark of MySQL AB in the United States, the European Union and other countries.
Problems? Comments? Please contact us.
© dBASEHost.com Home About