Step 1: Installing the mySQL 5.5 Database Server
Join me as I do a step-by-step installation of the mySQL 5.5 database server on a Windows XP Professional machine.
- This page was last updated July 29, 2012. It is currently a work in progress.
- For the tutorial, I am using:
For the tutorial, you will need your password book (or somewhere safe to write down the passwords) so that if you continue exploring MySQL in 6 months, you will be able to access the system. Some steps and/or screen messages may vary slightly if you are using different products.
- dBASE Plus 2.61.5
- Windows XP Professional SP3 32-bit
- Mozilla Firefox 14.0.1 web browser.
- If you have a previous installation of mySQL server on your machine, please check the version. If upgrading from versions of MySQL up to 4.1.5, you must uninstall the existing version before installing a new version. Later versions may be upgraded with the installer without uninstalling.
- The database installation is plain vanilla - I am sticking with typical options and basic functionality. The goal is to install a general-purpose mySQL database. To go beyond that, you will have to explore on your own - MySQL has lots of options, different table types and configurations for various different uses (ie. transactions, security, etc.)
- That's it for the preamble. We will now start the tutorial.
- Click on the mySQL logo above, which will open a new browser window and take you to the homepage of mySQL.com, a company owned by Oracle Corp. which sells commercial versions of mySQL, and sells support for mySQL. To their credit, they also provide the free open-source versions, which is what we are interested in. Sometimes, it seems that it is intentionally difficult to find the free versions and the names of things seem to change frequently, but at least the free versions are there. Thank you, mySQL.com.
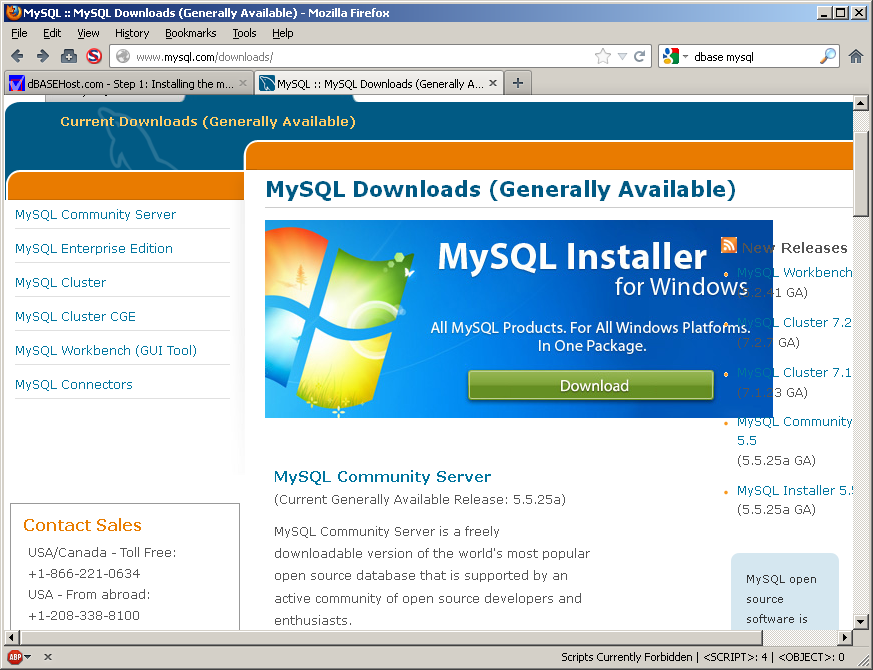
- There are 2 tabs near the top of the page. Click on the 'Downloads (GA)' tab.
- The MySQL Downloads page opens, and near the top is a large blue box - "MySQL Installer for Windows". Note that it is a single download for all MySQL versions and all Windows versions. Click on the green Download button:
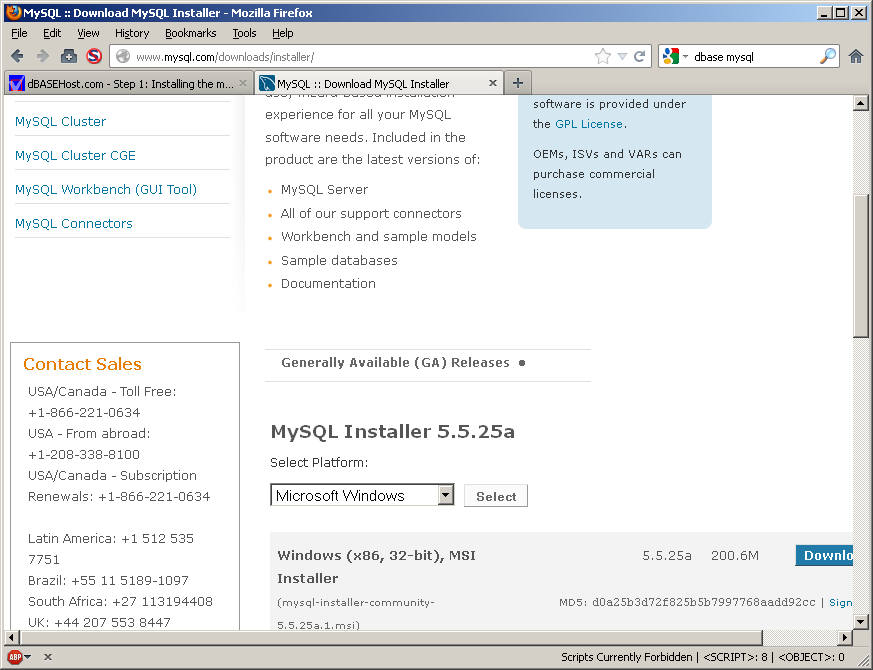
- On the next page, locate the version for Windows (x86, 32-bit, MSI Installer). I was a little concerned at this point as it appears to be 32-bit specific, and there are no other selections available on the dropdown. The previous page said all Windows versions, this page only specifies 32-bit. So I did a bit of hunting and found a page that explained the details of the MySQL Installer for Windows. Rest assured that a 64-bit version is included in the installer. Click on the 'Download' button at the far right:
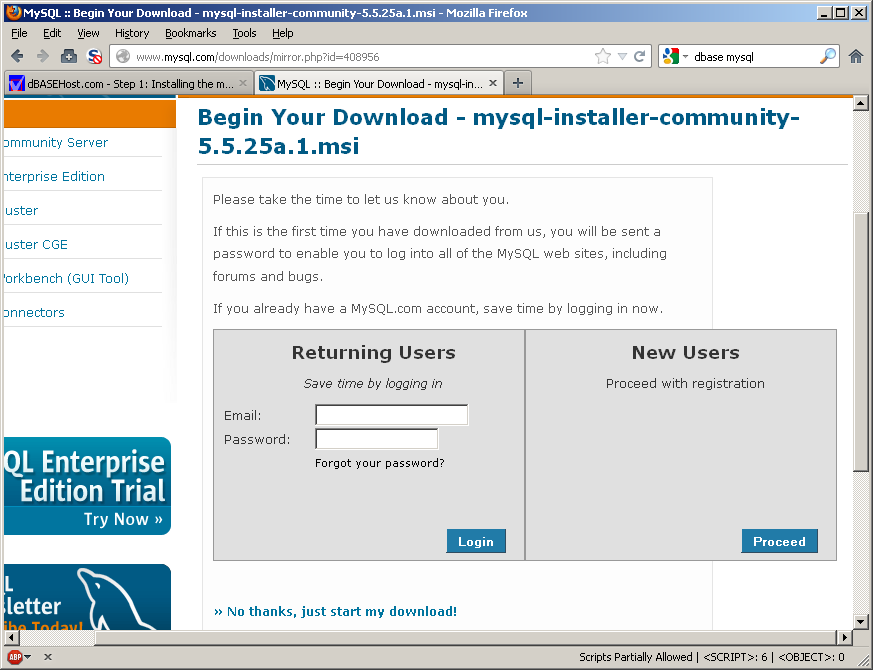
- On the next page, you are given the opportunity to register with mySQL. I never have, but you are welcome to if you like. I just click on 'No thanks, just start my download!' at the bottom. (Note: if you are using NoScript (or any other script-blocking software), the 'No Thanks' link does not appear until you allow MySQL.com):
- Your browser asks for confirmation that you want to save the file. Verify the information in the box and click 'Save File'. It is currently a 201MB download, so it may take some time, depending on your internet speed, server load, etc:
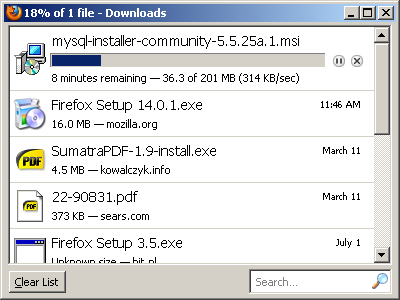
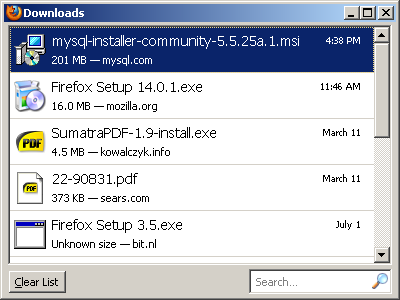
- The Downloads window appears with a progress bar to track the file transfer:
- When the download is complete, double-click on the downloaded filename to run the installer:
- A security warning from the browser is displayed. Click on the OK button to indicate that you understand the risks:
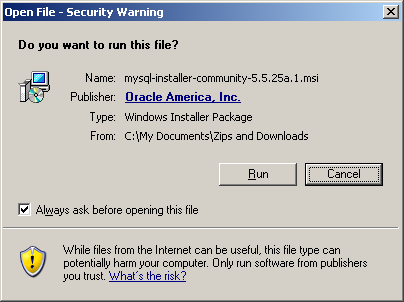
- Another security warning is displayed, this one from Windows:
Note that both of the security warnings offer checkboxes allowing you to not see them.
- Whoops! We have hit a brick wall because we require .NET Framework 4.0. (.NET Framework is kind of like the dBASE Runtime or the Java Virtual Machine - you don't interact with it directly very much, but other programs require it to run.) If you already have .NET Framework 4.0 installed, you won't see this, and you can skip ahead to Step # 26:
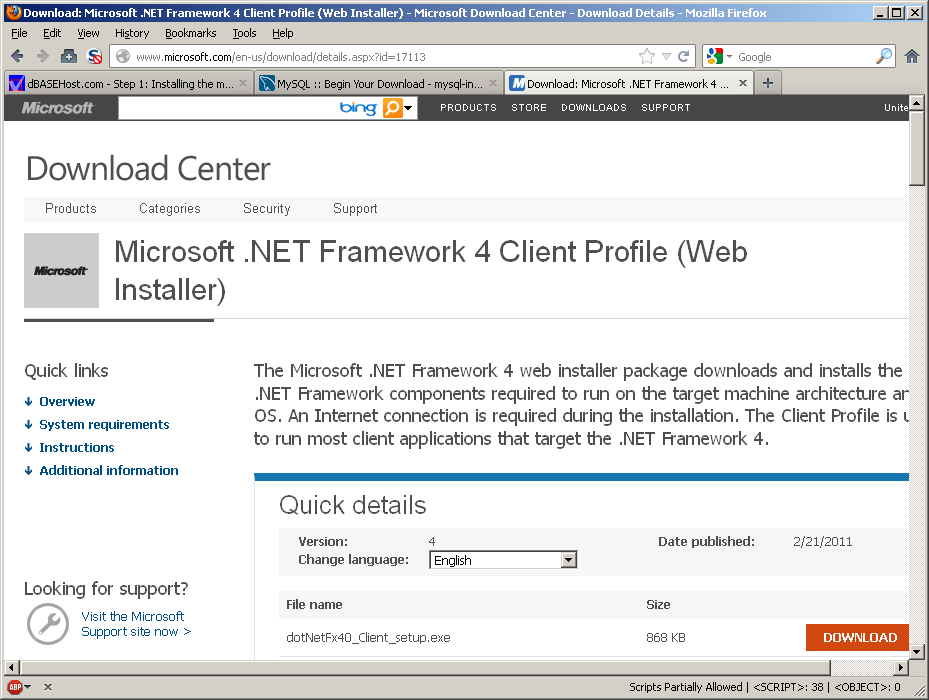
- The rest of us will install .NET Framework 4.0 on the computer. Open a new browser tab and type in the address from the message box. Or click here to achieve the same thing. The page will open in a new browser tab, so you may have to switch to that tab. (Once again, if you are using NoScript, you will have to allow scripts to run on this page for things to work correctly)
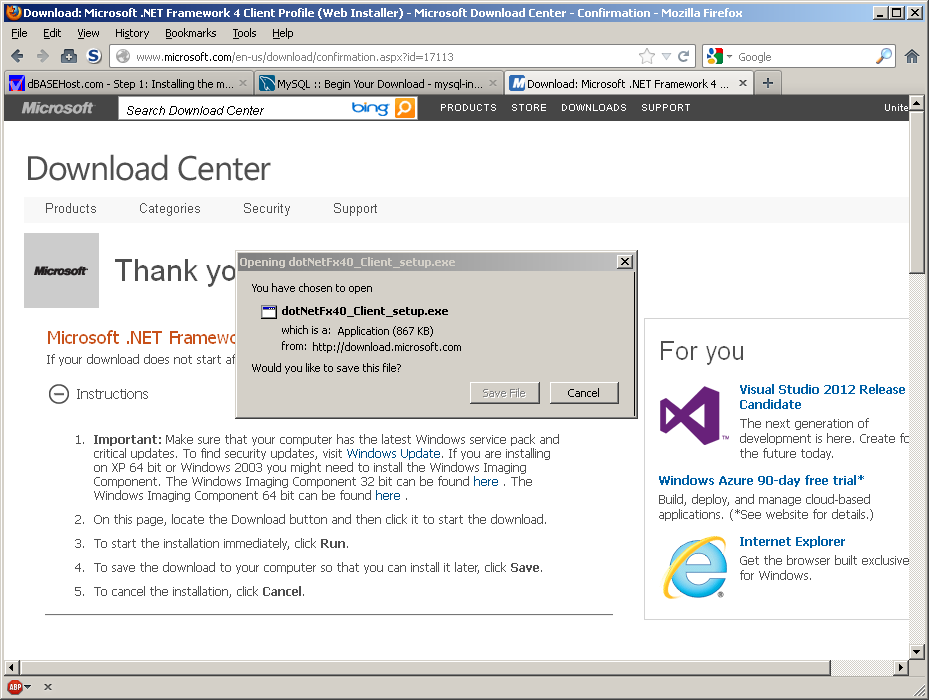
- There is a lot of good information on this page regarding .NET Framework 4 - instructions, system requirements, etc. 32-bit and 64-bit are supported. Click on the orange DOWNLOAD button and the following overlay will appear:
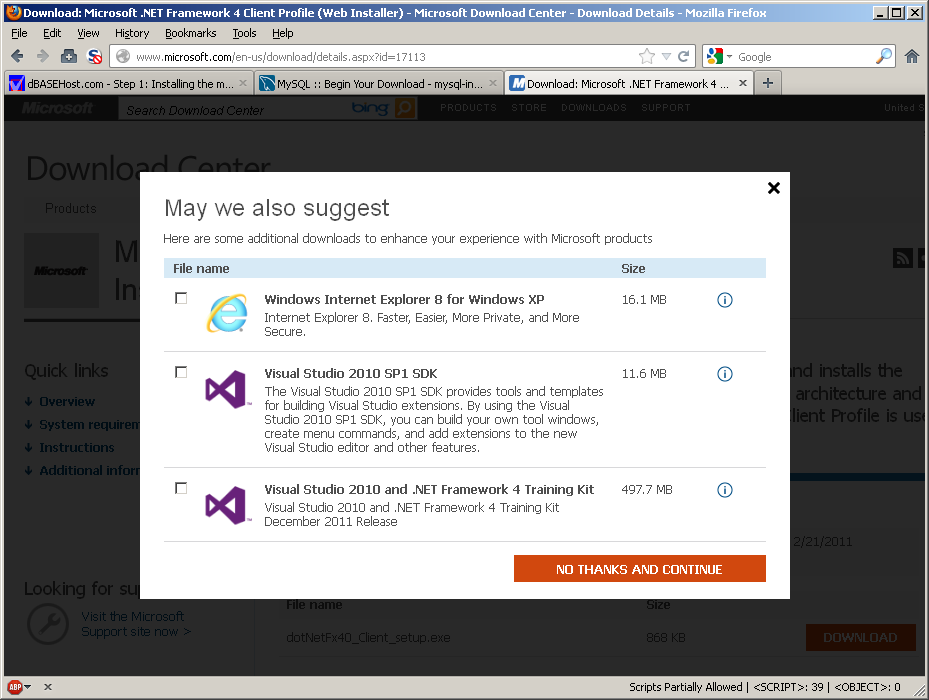
- The products are only suggestions; I already have IE8 and the other two are not applicable to this tutorial. I clicked on 'NO THANKS AND CONTINUE', and the following windows appeared - the "Thank you" browser window appears but you must answer the dialog box first - click on the "Save File" button (the screen capture below shows that the button is greyed out; when that dialog box has focus, it becomes enabled):
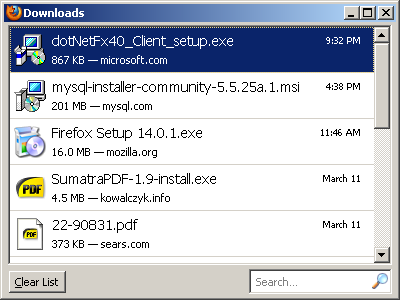
- The Downloads window appears, and the progress bar tracks the progress. It's a much smaller file than the MySQL installer (only 867KB), so it will complete much quicker. When it is complete, double-click on the filename to start the install:
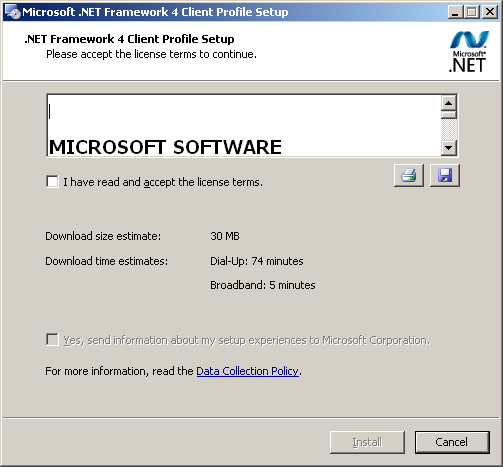
- I have left out the 2 security warnings; we've seen them already. Click your agreement to run the installer and the process will start with this informative window:
- You must accept the license terms to install .NET Framework 4. Check the box and click on Install:
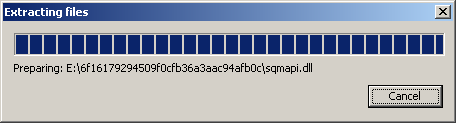
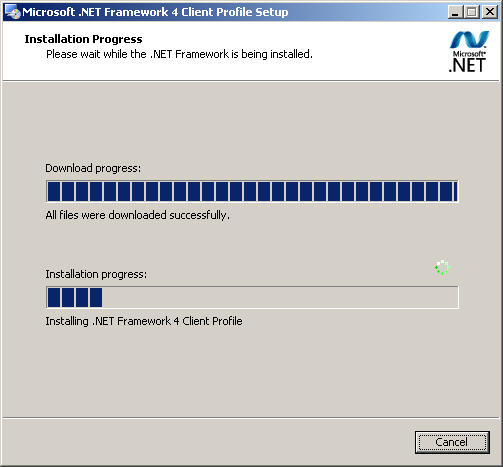
- This one takes a while - more downloading is required, and then the product is installed following the second progress bar:
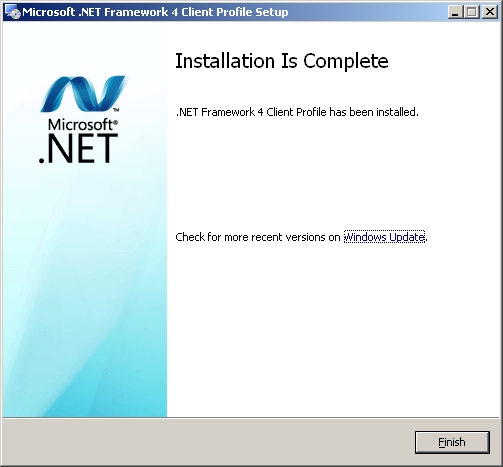
- At the end, we are rewarded with this screen. It's all very painless; no reboot required:
- With .NET Framework 4 done, we can now get back to installing the MySQL Server. We have already downloaded the 201MB MySQL installer; we don't have to do that part again, we just have to run it. On the Firefox menu bar, go to Tools, Downloads to open the window. I spent some time trying to locate the same thing in IE 8, but I had to go to the Help menu and spend another several minutes to see how they do things. From the IE 8 Help facility:
Where are downloaded files saved?Whatever browser you are using, locate the previously-downloaded MySQL installer and double-click on it to start the process again. On this tutorial page, scroll up to Step 13 to continue the process from there. You will be back here shortly - we'll see you then.
When you download files, Windows usually saves them in the Downloads folder, which is located under your user name in the Users folder on the drive where Windows is installed (for example C:\users\your name\downloads). When you are saving the file, you can choose to save it to a different folder. Some different types of files are saved to different folders by default. etc.
Note: as a programmer, you should be comfortable with the process of looping. I did consider making the .NET install a separate process (and I may yet at some point), but for now I am leaving it in this "how it happens in the real world" order.
- The MySQL Installer will start again, and it will detect that we have .NET Framework 4 installed so it will not give us that fatal error message. Instead we get this:
- At some point, the title changes to "MySQL Installer", and some very inaccurate "Time Remaining" estimates are displayed. Eventually, the progress bar completes:
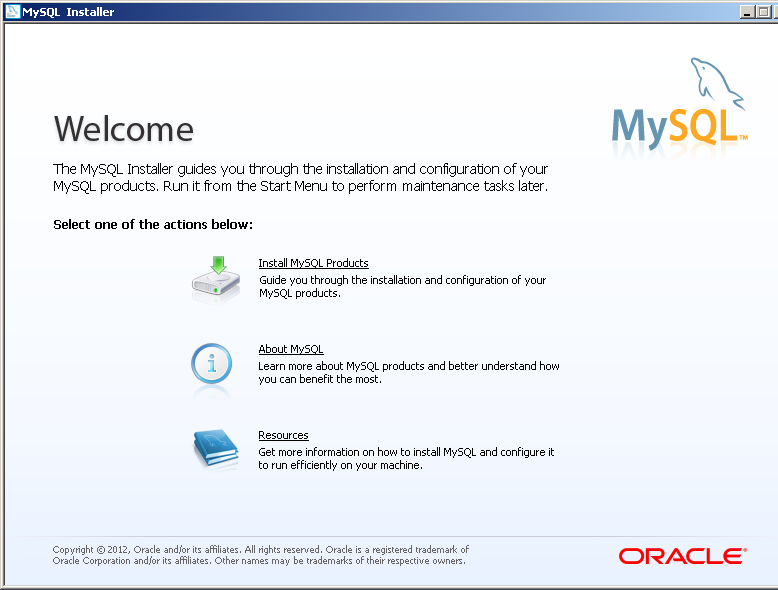
- We are presented with the following screen. There is an installer, but notice that there are additional resources. I would assume that you can get to those learning opportunities by other means, but you can always run the installer again if required:
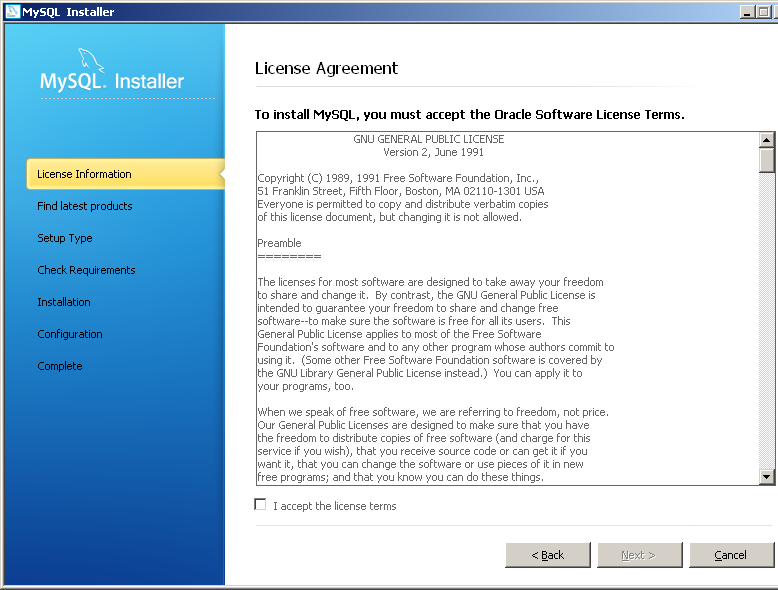
- The main MySQL installer screen is now displayed. Progress is tracked by the yellow highlight bar in the left column. As is customary, we must first accept a license to install the server - this one is not so bad, it's the GNU GPL v2. Click the "I accept the license terms" checkbox and then the 'Next' button (which is disabled until you accept):
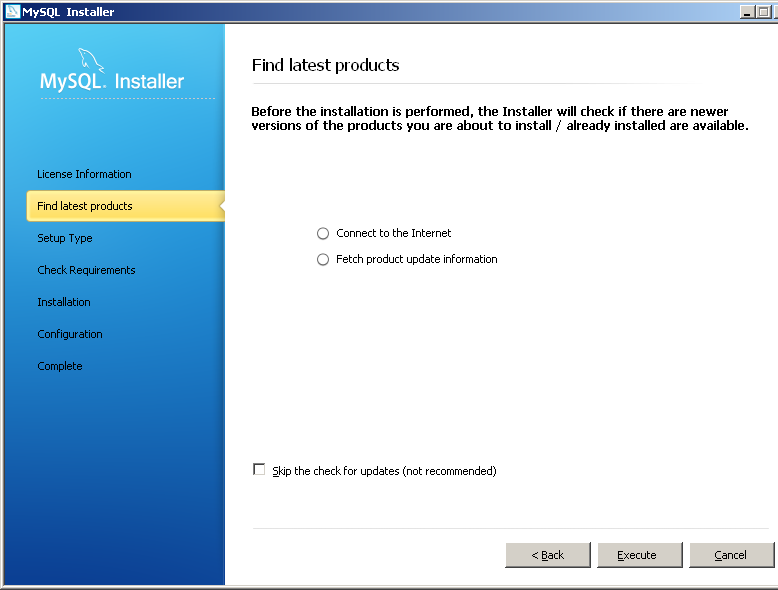
- The yellow highlight moves to 'Find latest products'. This part of the installation checks to compare what you have downloaded to what is currently available at mySQL.com. If you downloaded the installer 3 months ago, this check will determine if anything newer has come along in the meantime. In future, you can update your MySQL Server by running the installer again - it is not necessary to download another huge file. In our case, we just downloaded it, so it is not likely that updates are available, but I let it run anyway. Click on the Execute button:
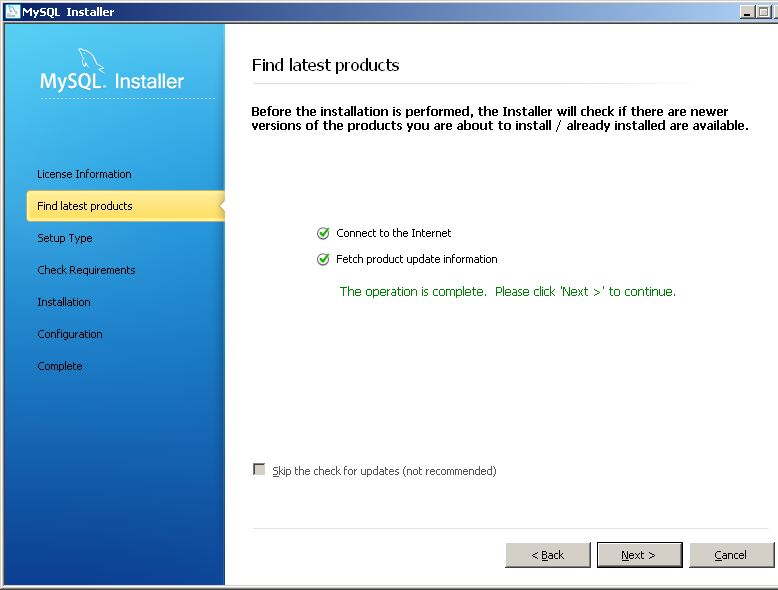
- The installer compares the downloaded version with what is available. As suspected, we are up to date so we get this message in green. Click Next to continue:
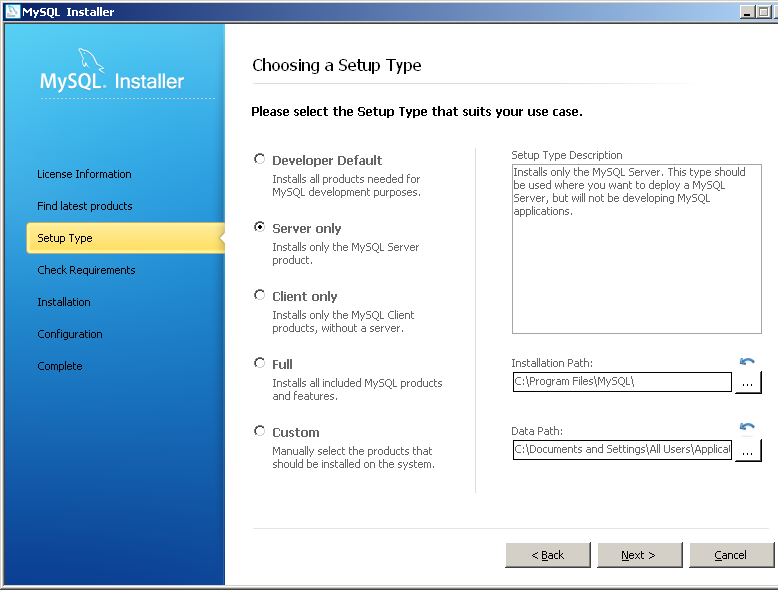
- We will now choose a Server type. You can explore the different selections - as you click on the different radio buttons, the description box gives you an idea of what the different packages offer. I am NOT going to be developing MySQL applications so I don't need the complete package. (I will be developing dBASE applications and using MySQL as the data storage. There's a difference.) I will install 'Server Only' so I click on that radio button. I am also given the opportunity to change where I want to install the files but I am happy with the defaults. When you are happy with your server type and install path, click Next to continue:
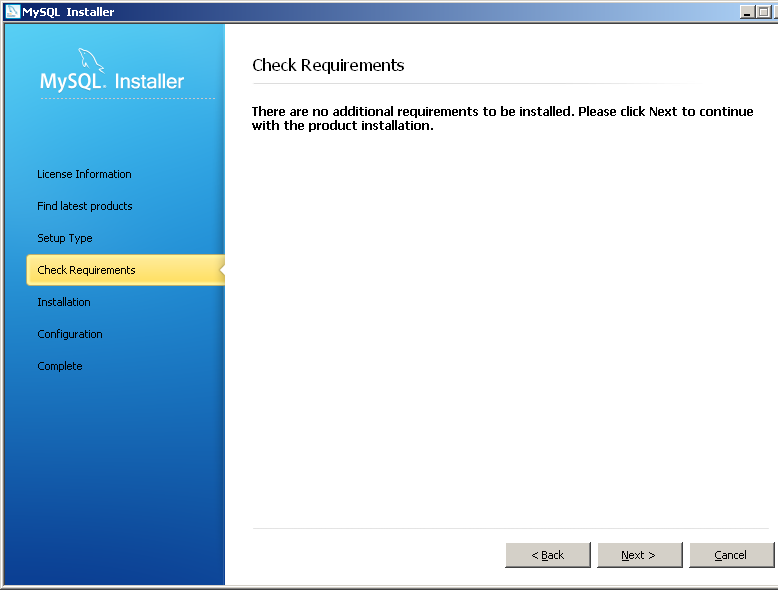
- The yellow highlight moves to 'Check Requirements' and we are informed that no additional checks are required. Click Next to continue:
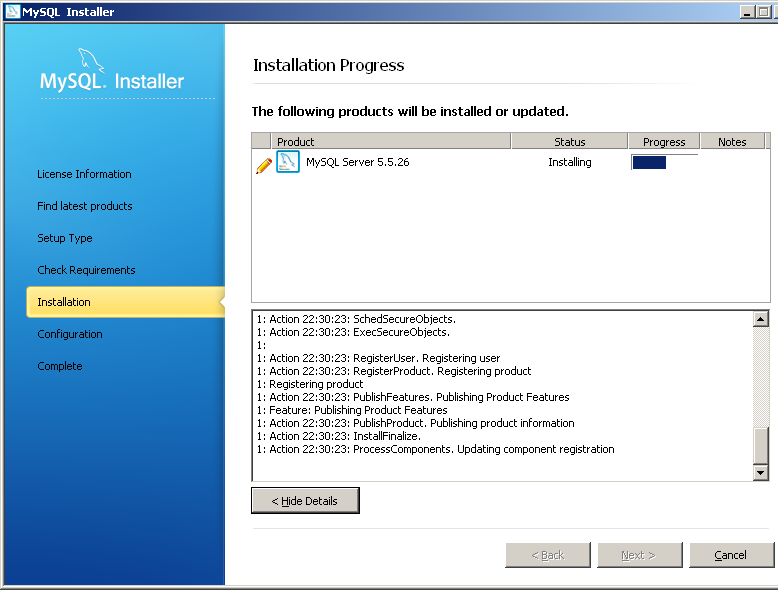
- The yellow highlight moves to 'Installation' where we are given another opportunity to see what is about to happen. I am content with the displayed actions. Click on Execute button to finally start the install:
- I clicked on the Show Details button so I get a quickly scrolling display of the details of what's going on. If something does go wrong, I will have a log that may help to determine where the problem is. I am not an installer programmer so that may not help me personally, but I would then have a starting point to do some Google research or ask for assistance on the mySQL forums. Perhaps they have newsgroups like dBASE does.
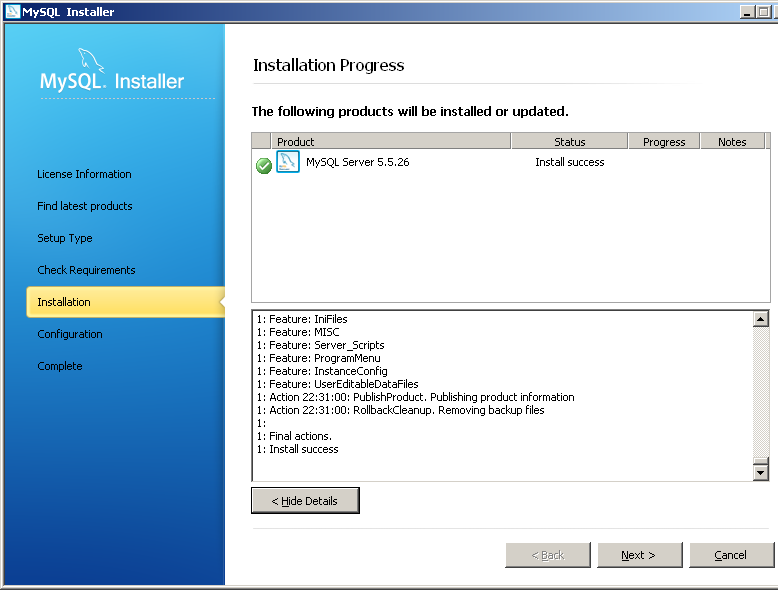
- When the install is complete, you will hopefully be shown this screen. The green checkmark indicates that everything happened as it should. Click Next to continue:
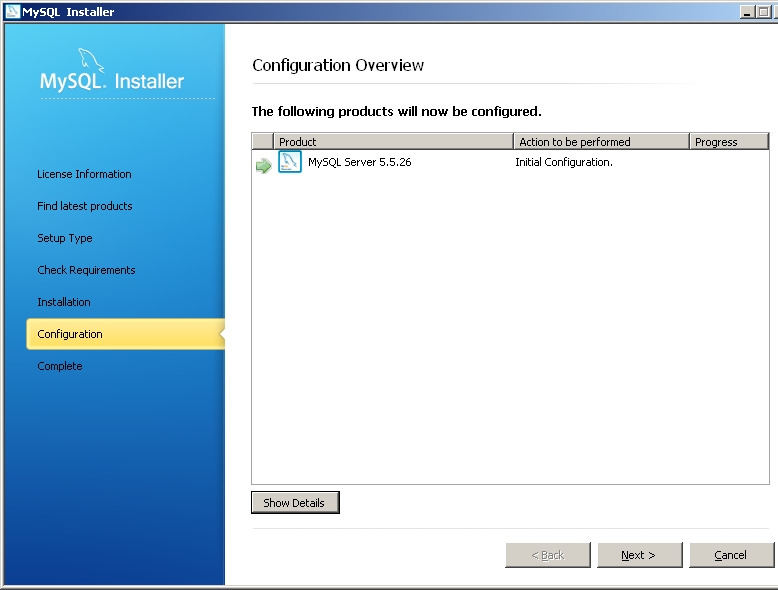
- The yellow highlight moves to Configuration. The configuration is very important as it involves several security-related decisions. This screen tells us what it is going to do. Click Next to continue:
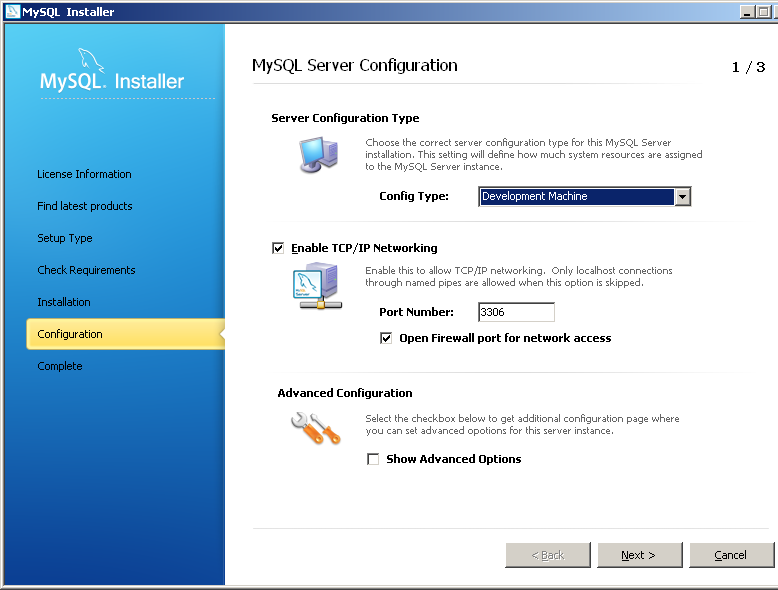
- The defaults for the first configuration page are displayed:
- It is important to understand these settings as they can have serious effects if imprudent selections are made.
Server Configuration Type: Depending on where you are installing MySQL, you can tune the resource consumption settings for different environments. In my case, I am installing MySQL on a desktop development machine where it must coexist with many other running processes. I don't want MySQL to hog all the memory so I set the config type dropdown to Development Machine.
Enable TCP/IP Networking Enabling TCP/IP networking is required for ODBC on Windows, even if it's only on the same machine. Notice that I have disabled the 'Open Firewall port for network access' checkbox to minimize potential vulnerabilities. Port 3306 will be open to connections but Windows firewall will remain closed, so connections can be made only from this machine.
Advanced Configuration The additional configuration page is for different types of logs. I am happy with the default so I will leave that unchecked. If you are interested in different logging options, you can check that box.
This is my completed page 1. Click Next to continue:
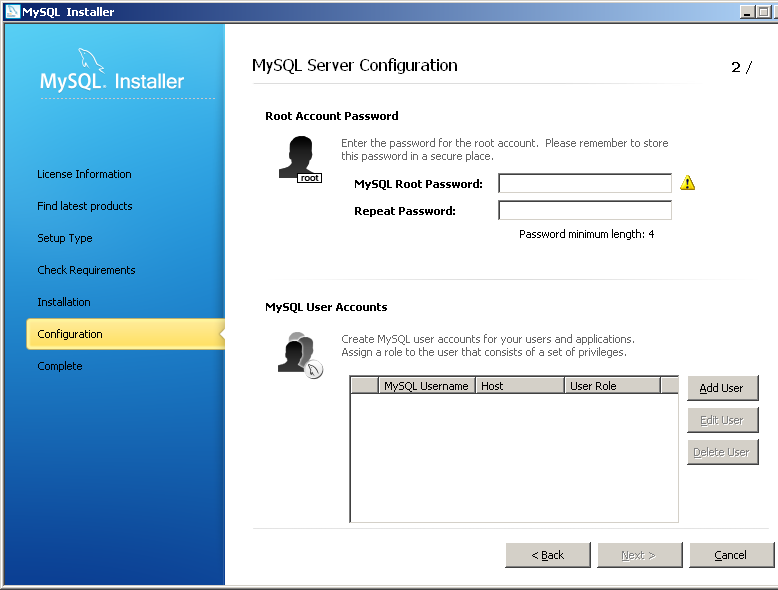
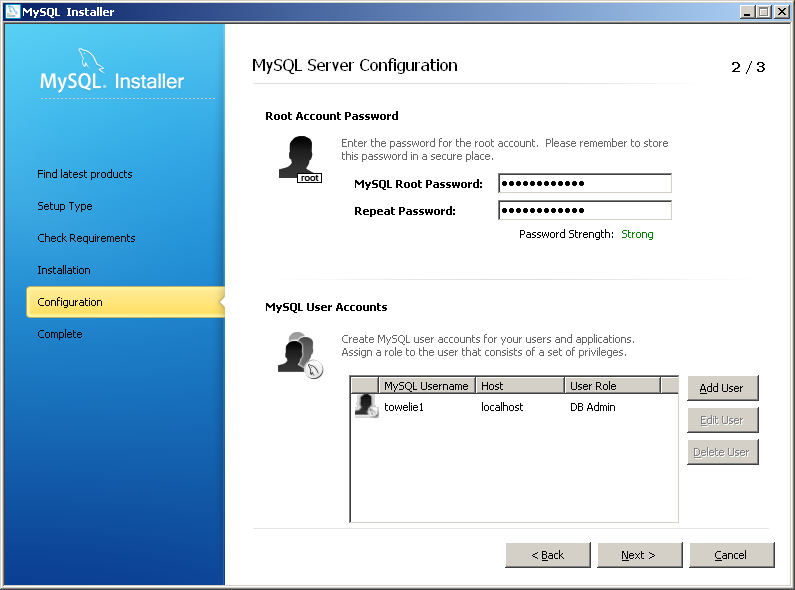
- We are now at the user account page. Before we do anything, it looks like this:
- We will now create users and passwords. This is when you will need your password book.
Root user Root is the super-user account that has all rights on the server. The root account will be created by default; we are required to create and verify the root password. Create,enter and re-enter a password for the root account. MySQL will evaluate it and tell you how good it is.
User accounts We are given the opportunity to create additional users besides root. For security reasons, it is a good idea so I will create an additional user:
Click on the 'Add User' button to create an additional user:
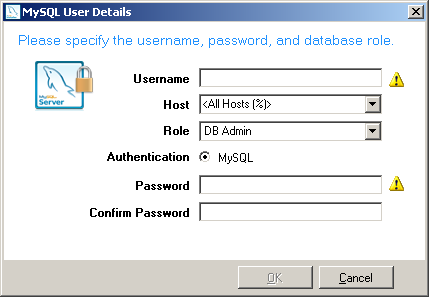
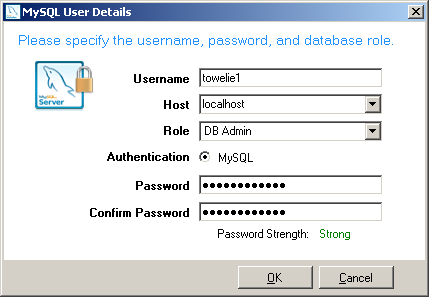
- This dialog box appears where we can create a new user:
- User account details:
Username Type in the username you want to create. 'User1' is not a good choice - it's too easy to guess. The username does not have to make sense - in fact, a random string is probably the safest.
Host The host refers to the name of the machine that this user is allowed to connect from - an additional layer of security. In this case, I want to restrict connections to the local machine whereever possible, so I will enter 'localhost' from the dropdown. With this restriction, this user cannot connect from another machine.
Role We are given a dropdown list that specifies various database admistration roles, but no user roles. I will choose the database administrator role.
Authentication Not much to choose from here.
Password Enter a password.
Confirm password Re-enter the password.
My completed user page looks like this. Click OK to continue:
- We are returned to the completed user account page. Click Next to continue:
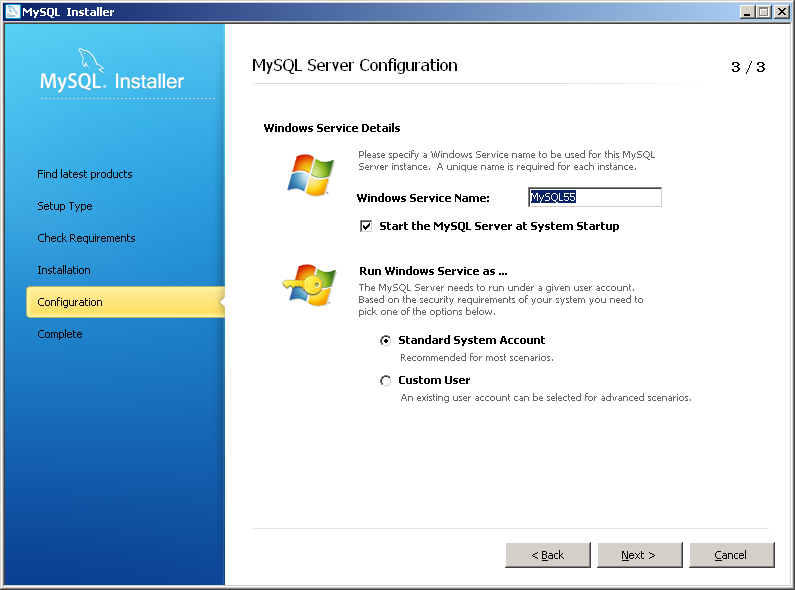
- We are presented with the 3rd configuration page. This one is Windows-specific and deals with how you want the MySQL Server to run. Suggested values are already entered for us. You are given the option of selecting a service name (I am happy with the suggested name), and you can also choose to run the service manually if you like. I prefer to leave it checked so that MySQL Server is always running when the machine is on.
I choose to run the Windows service as a standard system account. This is an added security feature as the standard system account has no network rights.
Click Next to continue:
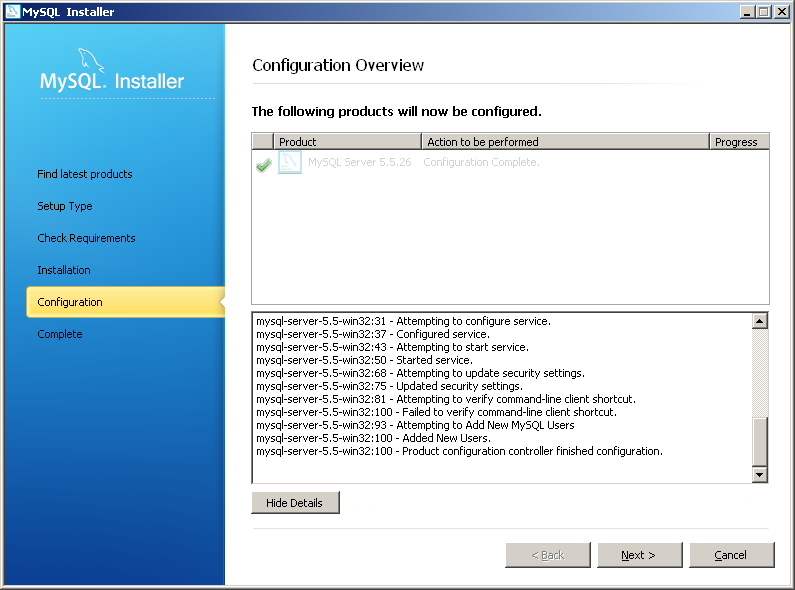
- We are returned to the Configuration Overview page.I clicked on Show Details and clicked Next to continue:
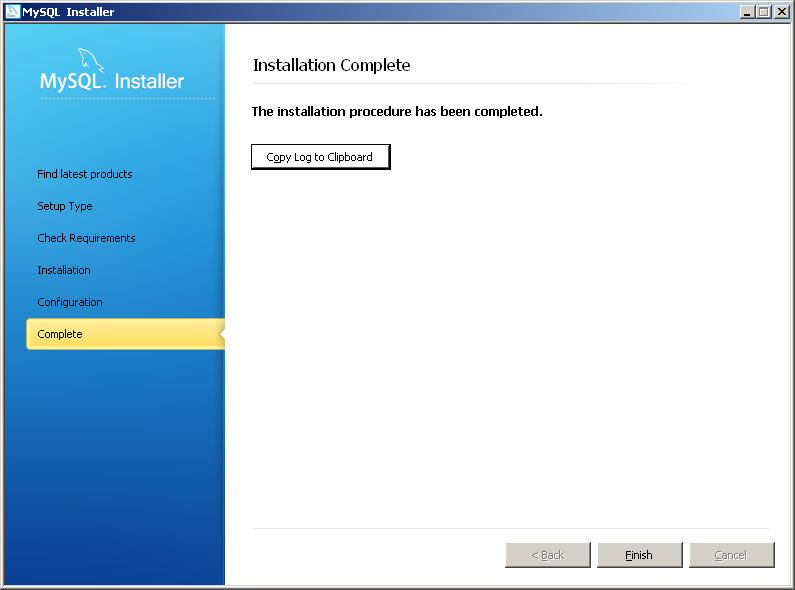
- After such a long odyssey, we are rewarded with the 'Installation Complete' window. The yellow highlight has moved to Complete. Click on Finish to close the window and complete the installation:
- Just to be sure, I opened up my 'Services' console and sure enough, MySQL service was there. Already running and configured to start automatically.
Next: Step 2: Installing the MySQL Connector/ODBC 3.51
Problems? Comments? Please contact us.
© dBASEHost.com Home About